|
How to Add a Bot or Live Chat to Your Wordpress Website |
|
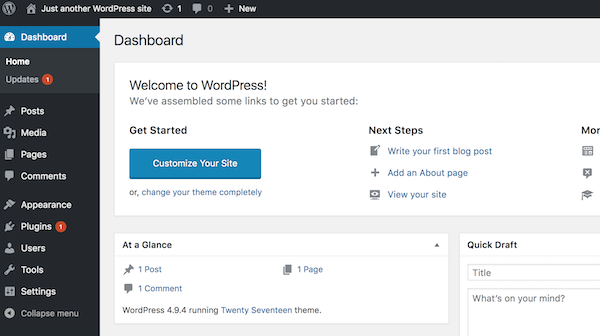
Through Bot Libre, you can now add a bot or live chat widget to your Wordpress website. A chatbot allows you to provide automated chat or customer service to your website. You can also connect to your live chat channel as an operator and respond to your user live on your website. Bot Libre also allows an automated bot agent to be connected to your live chat channel to respond to your users when you are unavailable. The Bot Libre Wordpress SDK is open source and available from Bot Libre's GitHub account. Bot Libre provides 2 plug-ins, one for chatbots, and one for livechat. This "How To" will give you a step by step process for how to install the Bot Libre bot and live chat Wordpress plugins on your site. Step 1 - Create a Bot First you must create a bot that you want to connect to Wordpress, or you can use one of your existing bots. To create a bot, follow the instructions here: How to create your own chat bot in 10 clicks. Step 2 - Add Bot Libre Plugin(s) to Wordpress Dashboard Navigate to your Wordpress site's admin Dashboard.
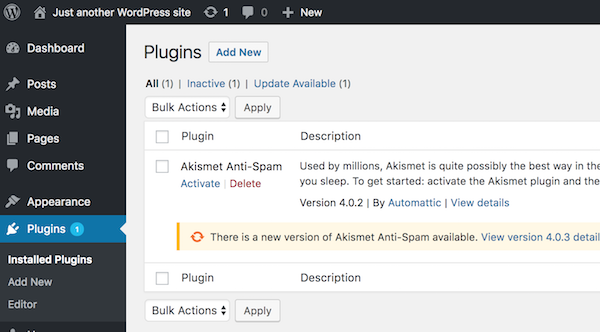
Click on the "Plugins" link on the menu on the left side of the page. Next, click the "Add New" button as shown below:
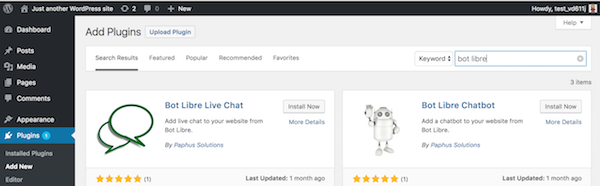
In the search bar, type "Bot Libre" to view the Bot Libre Bot and Live Chat plugins.
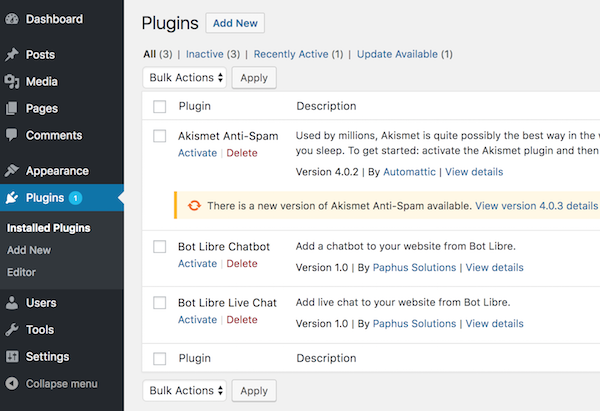
Click the "Install Now" button on the plugin(s) you wish to install. Next, click the "Installed Plugins" link on the sidebar on the left side of the screen.
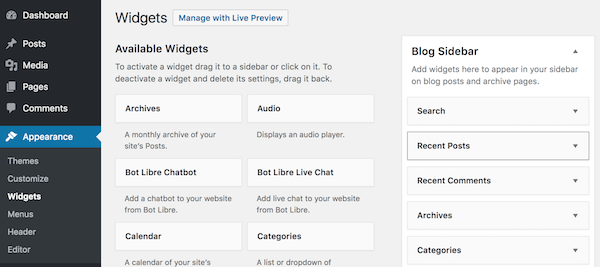
Click "Activate" under the Bot Libre plugin(s) that you have installed. Step 3 - Activate Widget(s) In the "Appearance" submenu on the left, click the "Widgets" link.
Drag the "Bot Libre Chatbot" and/or "Bot Libre Live Chat" widget over to one of the areas on the right, such as "Blog Sidebar". The location you drag it to does not matter, the widget's location will be configured in its settings.
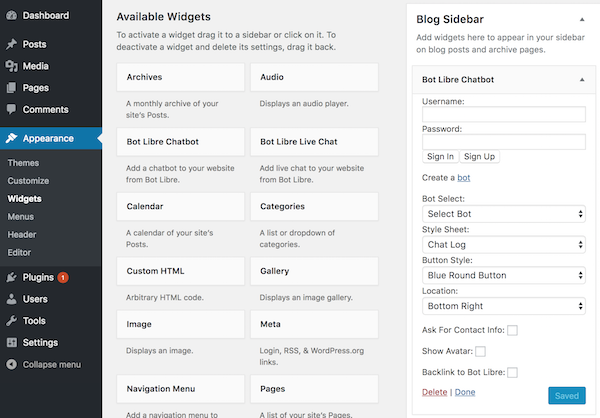
Now that the widget has been activated, you will be able to edit its settings.
Step 4 - Configure Widget To begin configuring the widget, enter your Bot Libre username and password into the corresponding fields, then press the "Sign In" button.
You will now be logged in to the widget. This example will use the "Chatbot" widget, but the settings for the "Live Chat" widget are very similar.
When you are finished configuring the widget, click the "Save" button. A button will now appear on your Wordpress site in the location you have selected that will allow users to chat with your bot. If you encountered any issues, or would like help setting up your bot please email us at [email protected] or upgrade to our Platinum service and we can build your bot for you. |
|
|
|
|
|
|